How to Knit the Purl Ridge Stitch [Free Video Tutorial & Written Pattern!]
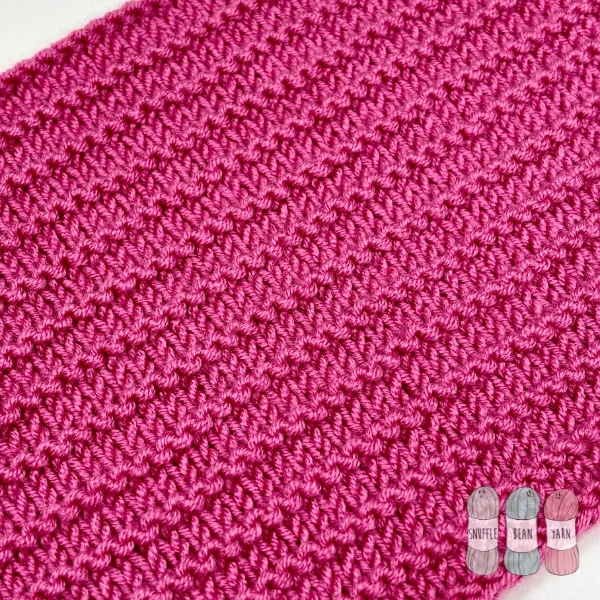
Like it’s name suggests, the Purl Ridge Stitch uses a raised row of purl bumps to create horizontal rows of texture on a background of stockinette stitch. Its an easy four row repeat, with no set pattern multiple – making it perfect for beginners wanting to practice tension when alternating rows of purl and knit stitches.
As this stitch is on a stockinette background, it does have a tendency to curl at the sides, so I often add a couple of selvedge stitches and knit them in garter stitch to help my work lay flat.

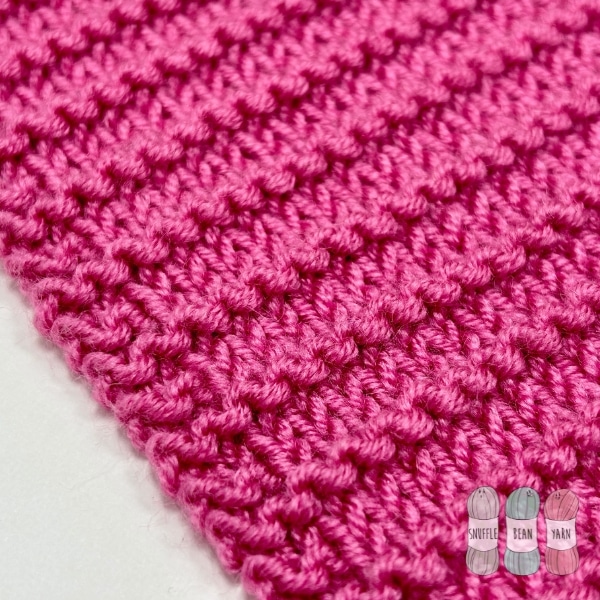
Purl Ridge stitch is not a reversible pattern, it does have a right and wrong side (see photo below). As you can see, the reverse is not messy in any way, it just does not have the same pattern as the right side – something that’s generally unavoidable when working with stockinette based stitches.

This pattern is a great introduction to using purl bumps as a way of creating texture on the front of your work. Its a technique I love to use when creating my baby blankets – something you can see in action in my “Milo” Baby Blanket.
Pin for later

written pattern
stitches used:
- K – Knit
- P – Purl
Repeat rows:
Cast on: This pattern has no set repeat so you can cast on any number of stitches and it will always work. (I like to use the Long Tail Cast On)
Row 1 (RS): k all stitches
Row 2: p all stitches
Row 3: k all stitches
Row 4: k all stitches
Repeat rows 1-4 until project is the size you want it to be. Cast off knit-wise on a Row 4.
tips for adding selvedge stitches
If you want to add selvedge stitches to help your work lay flat, then I suggest adding 2 stitches at either end. The selvedge is easy to work, the only change you will need to make to the four row repeat above is to knit the first 2 and last 2 stitches of Row 2 instead of purling them. Rows 1,3 and 4 would still be worked in the same way. My sample below has a 2 stitch selvedge worked in garter stitch, so you can see the effect it gives.

