How to Knit Diamond Brocade Stitch [Free Video Tutorial & Written Pattern!]
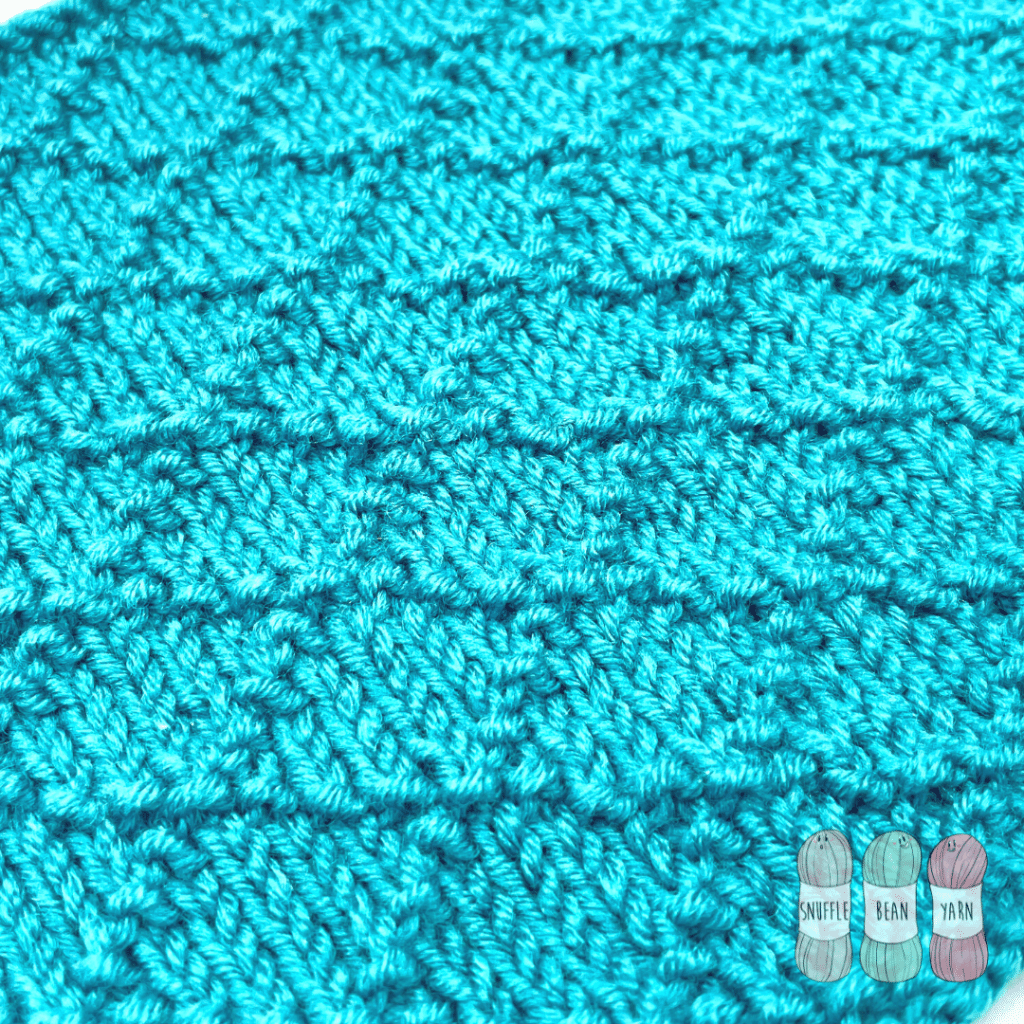
Diamond Brocade is a fun stitch pattern for adventurous beginners to tackle, it produces a textured fabric with a diamond-shaped design created by the purl bumps of the front of the work.
This stitch pattern consists of just basic knit and purl stitches and is only an 8 row repeat, which is what makes it such a great stitch pattern if you’re fairly new to knitting and want to tackle something a little more complex.
The pattern isn’t reversible (see video for a view of the back of the work) but the reverse side is not messy or ugly, it just doesn’t match the front.
Diamond Brocade stitch lays nice and flat, but if like me, you have tension issues when you start a row with a purl stitch, then you might want to add a selvedge stitch to each end.
I think this is a great stitch pattern that can be used for various knitting projects, such as scarves, blankets, and even a textured panel on a plain garment like a cardigan or jumper.

main pattern repeat
Foundation Row: Cast on a multiple of 8+1
Row 1 (RS): k4, *p1, k7* repeat from *to* until 5 stitches remain, p1, k4
Row 2 (WS): p3, *k1, p1, k1, p5* Repeat from *to* until 6 stitches remain, k1, p1, k1, p3
Row 3: k2, *p1, k3* repeat from *to* until 3 stitches remain, p1, k2
Row 4: p1, *k1, p5, k1, p1* repeat from *to* until end of row.
Row 5: *p1, k7* repeat from *to* until 1 stich remains, p1
Row 6: p1, *k1, p5, k1, p1* repeat from *to* until end of row.
Row 7: k2, *p1, k3* repeat from *to* until 3 stitches remain, p1, k2
Row 8: p3, *k1, p1, k1, p5* Repeat from *to* until 6 stitches remain, k1, p1, k1, p3
tips & tricks for finishing
I’m a stickler for symmetry in my knitting, and when I teach you all a stitch pattern I like to find a way to make the finished sample symmetrical. In the case of Diamond Brocade stitch, if you cast off directly after a Row 8 then your top edge will not match the bottom edge. Therefore I have the following tip for you:
After completing your final Row 8 – work ROW 1 once more, and then cast off knit wise with the wrong side facing you. This will give you a perfectly symmetrical piece of knitting and matching row of purl bumps on the first and last row.

