How to Knit Diagonal Rib Stitch
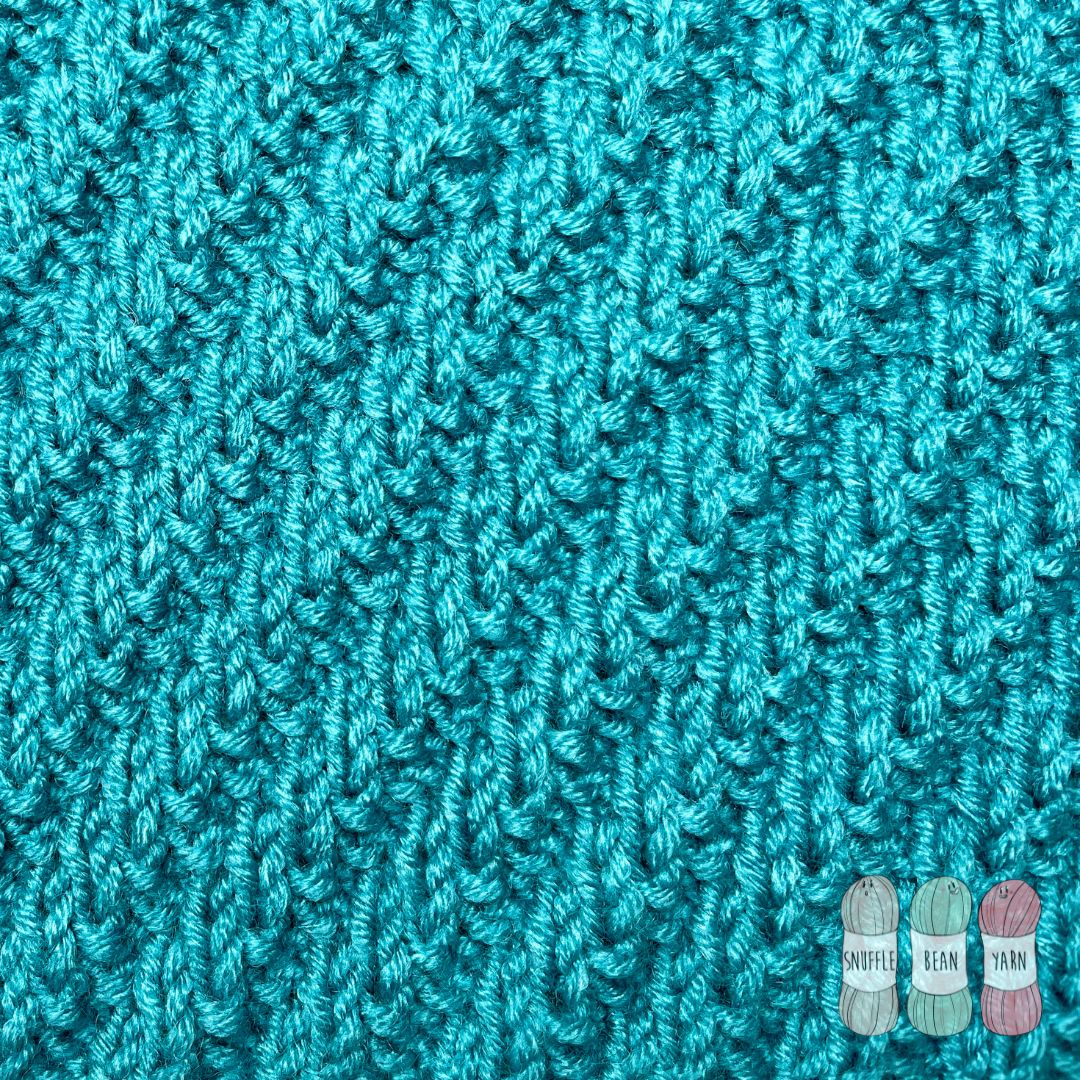
The diagonal diagonal rib stitch is a fun take on a 2×2 rib stitch. The diagonal effect the stitches create gives you amazingly squishy texture, making it perfect for projects where you want a lot of texture – like scarves, or even the middle section of a baby blanket.
The name makes the stitch sound a lot more complicated to work than it actually is, it consists of a nice and easy to learn 8 row repeat, and once you get into the swing of knitting up this stitch its an easy repeat to remember.
Not only do you get the fun texture on the right side of the work, this stitch is reversible which means you get identical texture on the wrong side as well.
For the visual learners amongst you there is a link to my YouTube tutorial at the bottom of this post, I hope you find it helpful!
stitches used
- p – purl
- k – knit
written pattern
Pattern Multiple – Cast on multiples of 4 using your preferred cast on method.
Pattern Repeat:
Row 1 (RS): *k2, p2* repeat from *to* until end of row.
Row 2(WS): *k2, p2* repeat from *to* until end of row.
Row 3: *k1, p2, k1* repeat from *to* until end of row.
Row 4: *p1, k2, p1* repeat from *to* until end of row.
Row 5: *p2, k2* repeat from *to* until end of row.
Row 6: *p2, k2* repeat from *to* until end of row.
Row 7: *p1, k2, p1* repeat from *to* until end of row.
Row 8: *k1, p2, k1* repeat from *to* until end of row.
Repeat rows 1-8 until project is desired length.
When you want to cast off, do so on a Row 8 repeat, and cast off in pattern.
Video Tutorial
If you’ve found this post helpful, then I’d love you to leave a comment – I love hearing from you all!


