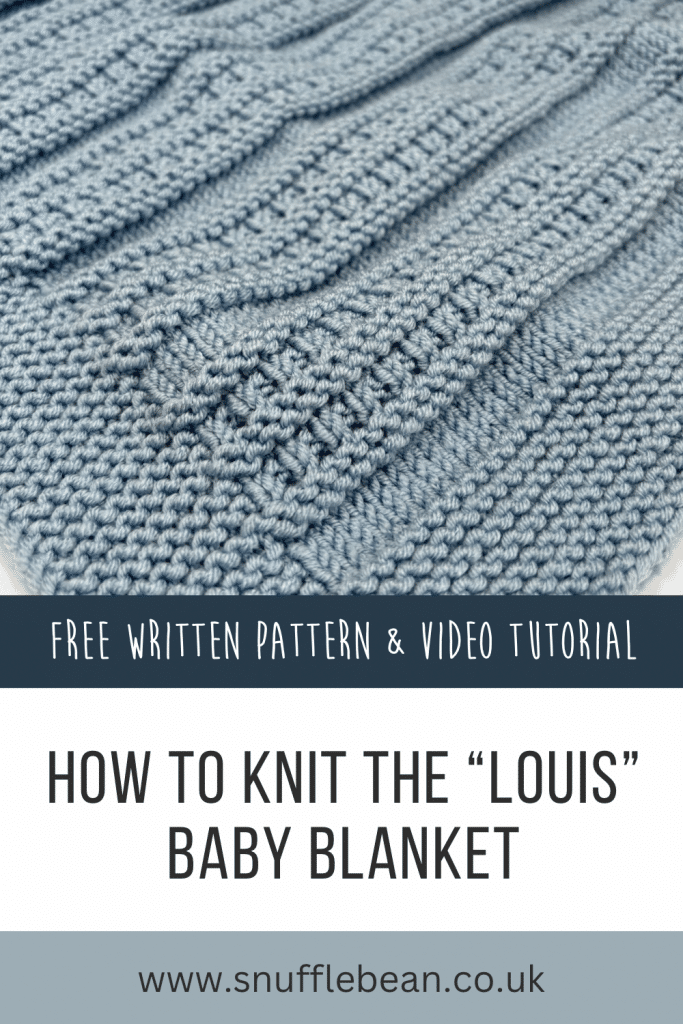
How to Knit the “Louis” Baby Blanket [Free Video Tutorial & Written Pattern!]
***You can purchase an INEXPENSIVE AD-FREE PDF of this pattern on Ravelry HERE or Etsy HERE***
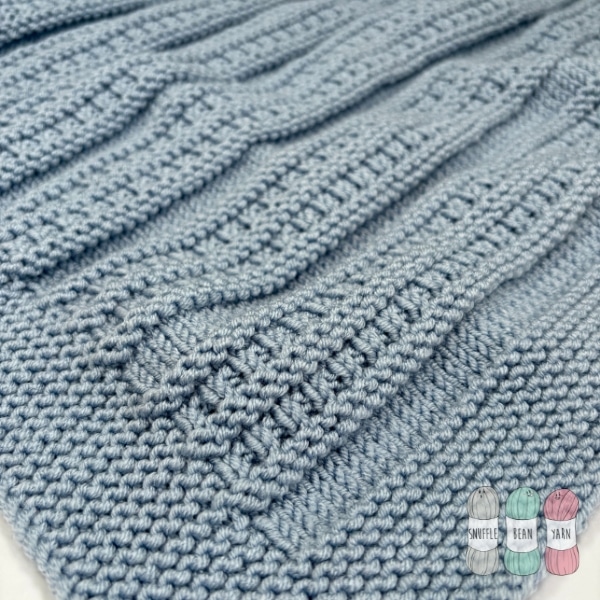
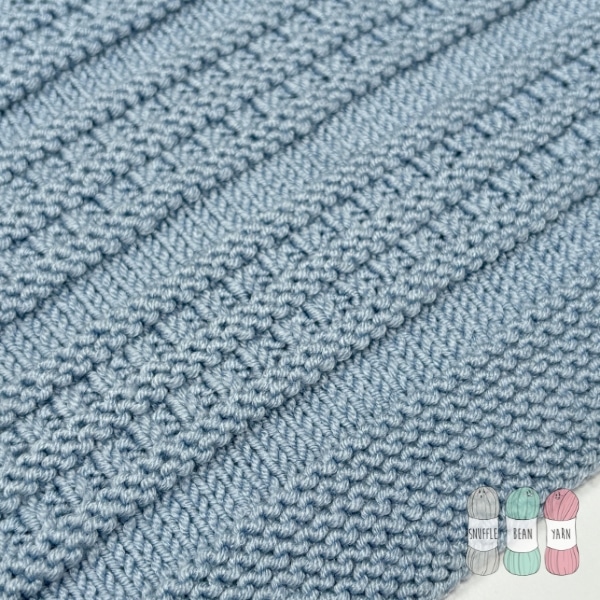
If texture is what you’re looking for the Louis is the pattern you’ve been waiting for! Combining stripes of stockinette with super textured stripes gives Louis the ultimate squish factor!
Louis is a 20 row repeat, but within this repeat there’s lots of repetition and minimal counting of stitches requires. This makes it perfect for an adventurous beginner to tackle – it looks far more complicated than it is!
yarn and sizing tips & tricks
I’ve chosen to knit my blanket in double-knit yarn (for those of you outside the UK, the equivalent is Light Worsted or 3 weight yam), but this blanket design will work in any weight yarn you choose. Just make sure that you select the right size needles for the yarn you want to work with.
My instructions produce a Blanket approximately 60cm x 80cm, but the beauty of this blanket is there is NO pattern repeat, you just cast on an ODD number of stitches, and off you go. Ideal for when you really don’t want to have to sit and work out how many stitches you need to achieve the perfect size.
pin for later
Materials Needed
- 4mm Circular Needs (to recreate this blanket 100cm is a perfect length)
- 400g of DK Yarn – I used King Cole Cherished in Stonewash
- Scissors & Tapestry Needle for sewing in ends
- 2 Stitch Markers
written pattern
Stiches & Abbreviations:
- k – knit
- p – purl
- sl1pwyf – slip one purl wise with yarn in front.
- Pm – place marker
- Sm – slip marker
- RS – Right Side
- WS – Wrong Side
Bottom Edge
Foundation Row: Cast on 135 stitches. (I like to use the Long-Tail method)
Knit 15 rows as follows: K until final stitch, sl1pwyf
Main Pattern Repeat
Row 1 (RS): k9, pm, k until 9 stitches remain, pm, k8, sl1pwyf.
Row 2 (WS): k9, sm, p until next marker, sm, k8, sl1pwyf
Row 3: k9, sm, k until next marker, sm, k8, sl1pwyf
Row 4: k9, sm, p until next marker, sm, k8, sl1pwyf
Row 5: k9, sm, k until next marker, sm, k8, sl1pwyf
Row 6: k9, sm, p until next marker, sm, k8, sl1pwyf
Row 7: k9, sm, p until next marker, sm, k8, sl1pwyf
Row 8: k9, sm, k until next marker, sm, k8, sl1pwyf
Row 9: k9, sm, k until next marker, sm, k8, sl1pwyf
Row 10: k9, sm, p1, *k1, p1* repeat *to* until next marker, sm, k8, sl1pwyf
Row 11: k9, sm, k1, *p1, k1* repeat *to* until next marker, sm, k8, sl1pwyf
Row 12: k9, sm, p until next marker, sm, k8, sl1pwyf
Row 13: k9, sm, p until next marker, sm, k8, sl1pwyf
Row 14: k9, sm, k until next marker, sm, k8, sl1pwyf
Row 15: k9, sm, k until next marker, sm, k8, sl1pwyf
Row 16: k9, sm, p1, *k1, p1* repeat *to* until next marker, sm, k8, sl1pwyf
Row 17: k9, sm, k1, *p1, k1* repeat *to* until next marker, sm, k8, sl1pwyf
Row 18: k9, sm, p until next marker, sm, k8, sl1pwyf
Row 19: k9, sm, p until next marker, sm, k8, sl1pwyf
Row 20: k9, sm, k until next marker, sm, k8, sl1pwyf
Repeat Rows 1 – 20 12 times in total (slipping markers on row 1 instead of placing them), and then work rows 1-5 once more before moving on to top border.
Top Edge
Knit 15 rows as follows: K until final stitch, sl1pwyf. (Remove your stitch markers when working your first row of the border)
Final row (Row 16): Cast off knit wise with right side facing.
Another great pattern. I made mine in Stylecraft Special DK in white.
It turned out beautifully soft with a lovely drape. Thank you