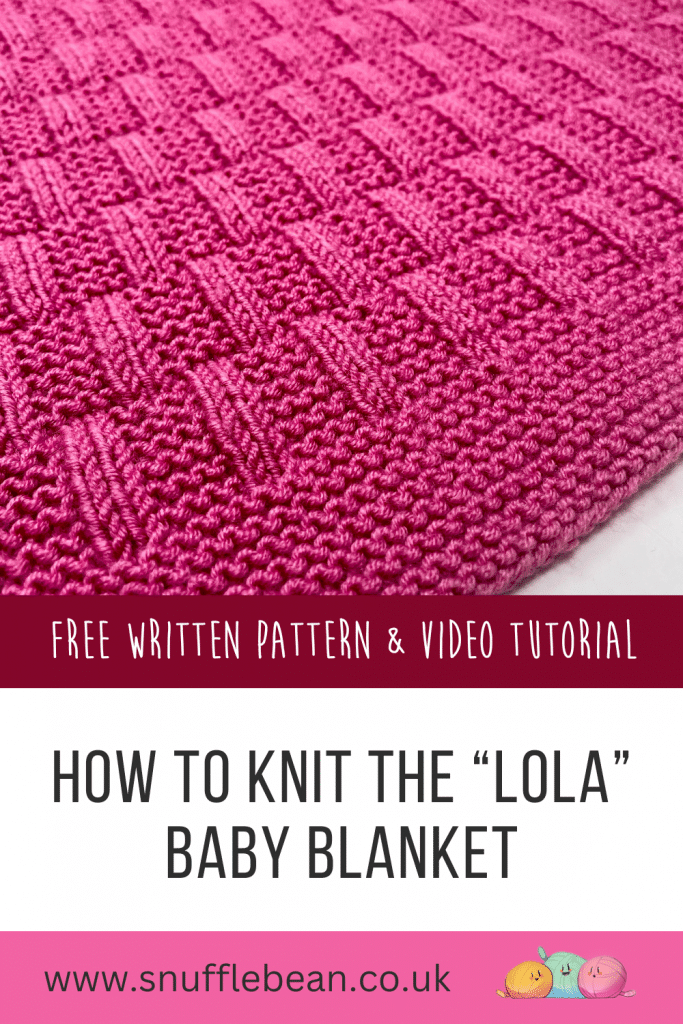
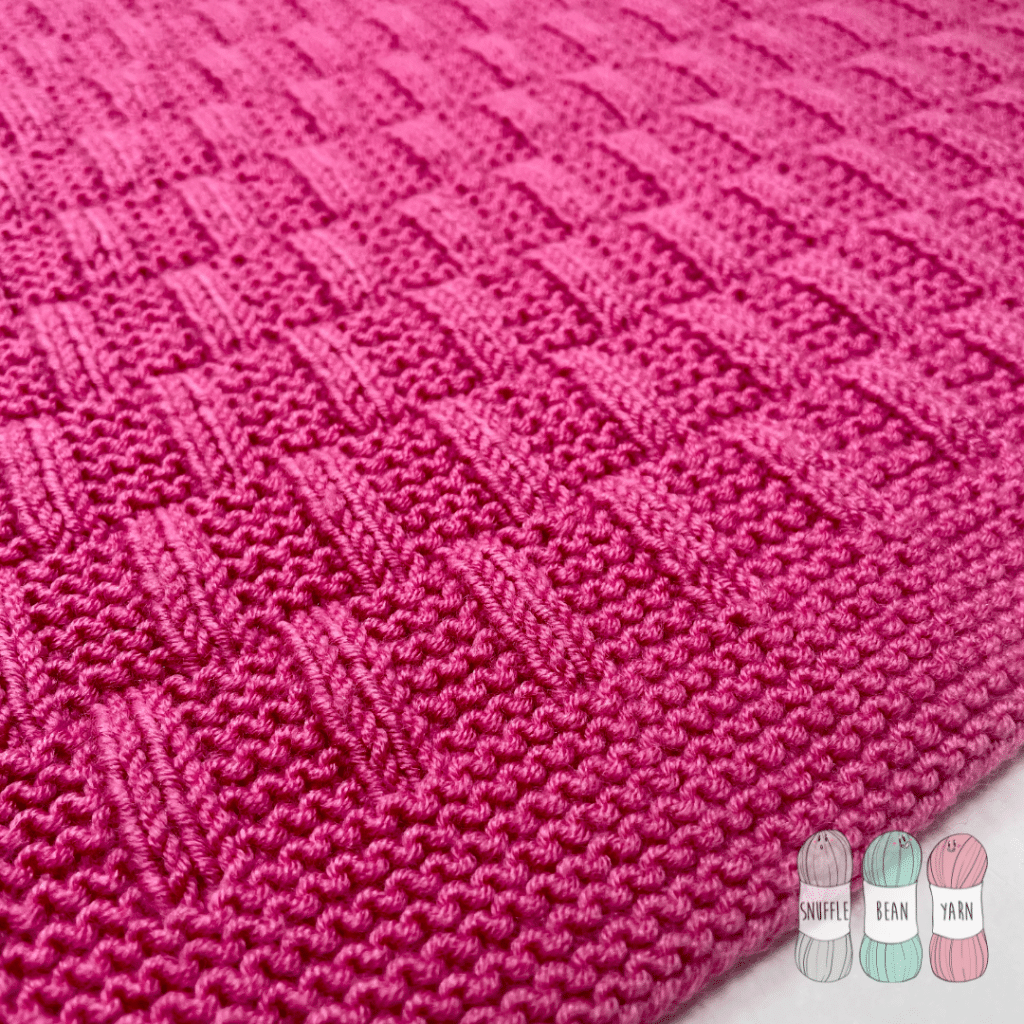
How to Knit the “Lola” Blanket [Free Video Tutorial & Written Pattern!]
***You can purchase an INEXPENSIVE AD-FREE PDF of this pattern on Ravelry HERE or Etsy HERE***
Lola is a happy accident! When I initially cast on this blanket, I had a slightly different vision for how I wanted this stitch pattern to turn out. After 3 repeats I realised two things:
- I fluffed up and didn’t knit quite the repeat I needed to.
- I actually really liked the way the blanket was coming together.

So rather than unravel a perfectly lovely blanket, I pressed on and Lola was born! I’m actually so happy that I did fluff up the repeat, as I think the way the stockinette sections intersect works so well.
Lola is a 24 row repeat, slightly longer than I normally work to, but those 24 rows are rhythmic and easy to remember, so please don’t find the longer repeat too daunting!

yarn and sizing tips & tricks
The Lola baby blanket pattern is knitted all in one piece, from bottom to top. In order to accommodate all your stitches, I recommend using a set of circular needles (at least 100cm long) as straight needles just won’t be long enough to fit your stitches on comfortably.
I’ve chosen DK (aka Double Knitting, Light Worsted, 3 Weight) yarn for this project, but don’t let that stop you from knitting it in your own preferred weight of yarn.
My instructions produce a baby blanket approximately 60cm x 80cm, perfect for using as a cot, pram or travel blanket. But don’t let that stop you from knitting this blanket in any size you want! I think it would look great scaled up as a Sofa Throw, Quilt or Bedspread!
I’ve deliberately designed this knitting pattern to be super easy for you to adjust the size of your blanket to whatever size you want/need.
To make the blanket longer, you’ll need to work more repeats of the Middle Section (the top and bottom border are worked the same regardless of the size of blanket you knit).
To adjust the width of your blanket you’ll need to cast on more (or indeed less) stitches, it can easily be done using the pattern multiple of 6+2 for the middle textured panel, and an additional 18 stitches (9 for each side) for the garter stitch edging.
I really hope you enjoy knitting my happy accident of a blanket as much as I did!
pin for later:

Materials Needed:
- 4mm Circular Needs (to recreate this blanket 80cm is a perfect length)
- 400g of DK Yarn – I used Stylecraft Belissima in Flaming Fuschia
- Scissors & Tapestry Needle for sewing in ends
- 2 Stitch Markers
Written Pattern:
Stitches Used
- k – knit
- p – purl
- sl1pwyf – slip one purlwise with yarn in front.
- Pm – place marker
- Sm – slip marker
Bottom Edge
Foundation Row: Cast on 140 stitches.
Knit 16 rows as follows: K until final stitch, sl1pwyf
main pattern repeat
Row 1 (Setup Row): k9, pm, p2, *k4, p2 * Repeat from *to* until 9 stitches remain, pm, k8, sl1pwyf
Row 2: k9, sm, k until next marker, sm, k8, sl1pwyf
Row 3: k9, sm, p2, *k4, p2 * Repeat from *to* until 9 stitches remain, sm, k8, sl1pwyf
Row 4: k9, sm, k until next marker, sm, k8, sl1pwyf
Row 5: k9, sm, p2, *k4, p2 * Repeat from *to* until 9 stitches remain, sm, k8, sl1pwyf
Row 6: k9, sm, k until next marker, sm, k8, sl1pwyf
Row 7: k9, sm, p2, *k4, p2 * Repeat from *to* until 9 stitches remain, sm, k8, sl1pwyf
Row 8: k9, sm, k until next marker, sm, k8, sl1pwyf
Row 9: k9, sm, p2, *k4, p2 * Repeat from *to* until 9 stitches remain, sm, k8, sl1pwyf
Row 10: k9, sm, k until next marker, sm, k8, sl1pwyf
Row 11: k9, sm, p2, *k4, p2 * Repeat from *to* until 9 stitches remain, sm, k8, sl1pwyf
Row 12: k9, sm, k until next marker, sm, k8, sl1pwyf
Row 13: k9, sm, k3, *p2, k4* Repeat from *to* until 3 stitches before 2nd marker, k3, sm, k8, sl1pwyf
Row 14: k9, sm, k until next marker, sm, k8, sl1pwyf
Row 15: k9, sm, k3, *p2, k4* Repeat from *to* until 3 stitches before 2nd marker, k3, sm, k8, sl1pwyf
Row 16: k9, sm, k until next marker, sm, k8, sl1pwyf
Row 17: k9, sm, k3, *p2, k4* Repeat from *to* until 3 stitches before 2nd marker, k3, sm, k8, sl1pwyf
Row 18: k9, sm, k until next marker, sm, k8, sl1pwyf
Row 19: k9, sm, k3, *p2, k4* Repeat from *to* until 3 stitches before 2nd marker, k3, sm, k8, sl1pwyf
Row 20: k9, sm, k until next marker, sm, k8, sl1pwyf
Row 21: k9, sm, k3, *p2, k4* Repeat from *to* until 3 stitches before 2nd marker, k3, sm, k8, sl1pwyf
Row 22: k9, sm, k until next marker, sm, k8, sl1pwyf
Row 23: k9, sm, k3, *p2, k4* Repeat from *to* until 3 stitches before 2nd marker, k3, sm, k8, sl1pwyf
Row 24: k9, sm, k until next marker, sm, k8, sl1pwyf
Repeat Rows 1 – 24 11 times in total (slipping markers on row 1 instead of placing them), and then work rows 1-12 once more before moving on to top border.
Top Edge
Knit 15 rows as follows: K until final stitch, sl1pwyf.
Final row (Row 16): Cast off knit wise with right side facing.
I hope you love Lola just as much as I do! If you’re looking for more knitted baby blanket inspiration then why not take a look at Harvey, Henry or Noah.
video tutorial:
Want to browse all of my free knitted baby blanket patterns and more? See them HERE!


Thank you for your free pattern. I just finished making this gorgeous blanket. Your instructions were amazing again thank you love from Australia 💕
Its an absolute pleasure! Thank you so much for your support, it means the world. Laurelin 🙂
Thank you so much for sharing . I really love Lola. And appreciated your time . Have a wonderful day. Hope you keep designing those beautiful blankets. God bless you. 👏 Thank you from Clarksville Tennessee . USA.
I just finished the Emma blanket with a slight change. I completed the first 4 sections when I doubled the next section and continued to double the next 3 sections. The last 4 sections are the same size as the first 4 sections. I really love the differences which appear as movement. Thank you for your free patterns.
Fabulous! Thank you for choosing my patterns and for taking the time to make a comment 🙂
I just finished the Lola blanket with a slight change. I completed the first 4 sections when I doubled the next section and continued to double the next 3 sections. The last 4 sections are the same size as the first 4 sections. I really love the differences which appear as movement. Thank you for your free patterns.
Sounds beautiful!