How to Knit the “Emily” Baby Blanket [Free Knitting Pattern & Video Tutorial!]
***You can purchase an INEXPENSIVE AD-FREE PDF of this pattern on Ravelry HERE or Etsy HERE***
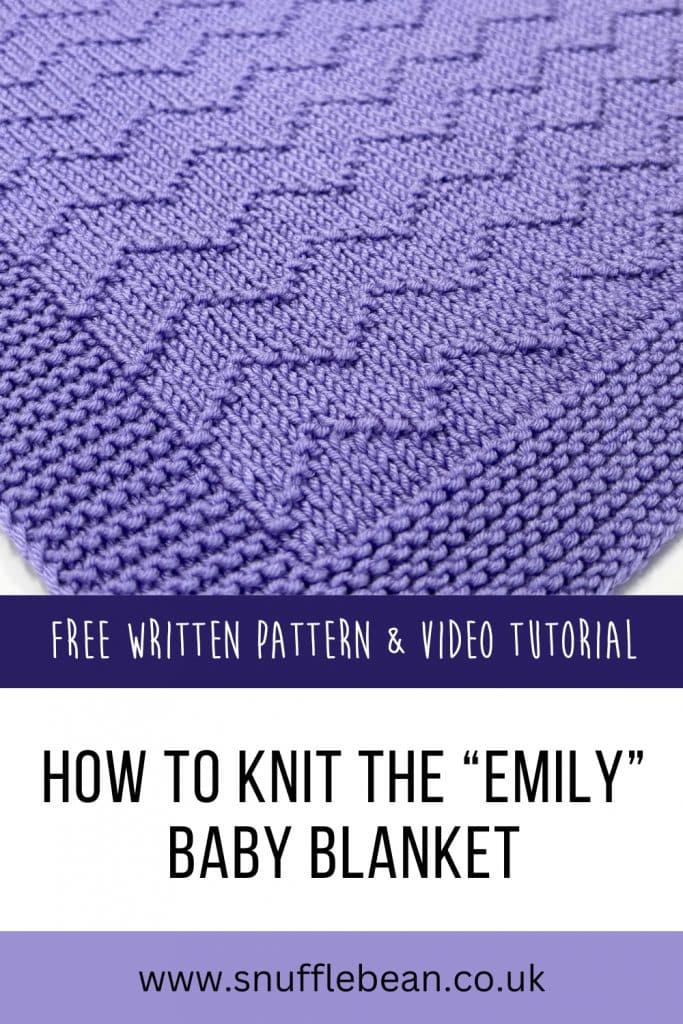
Meet Emily! The latest addition to my ever growing stack of baby blankets.
I’m somebody at that knits things that I enjoy, and when I came up with the idea for Emily I was craving an easier knit, with a shorter repeat. Something that wouldn’t feel too overwhelming to knit during a busy period in my home life.
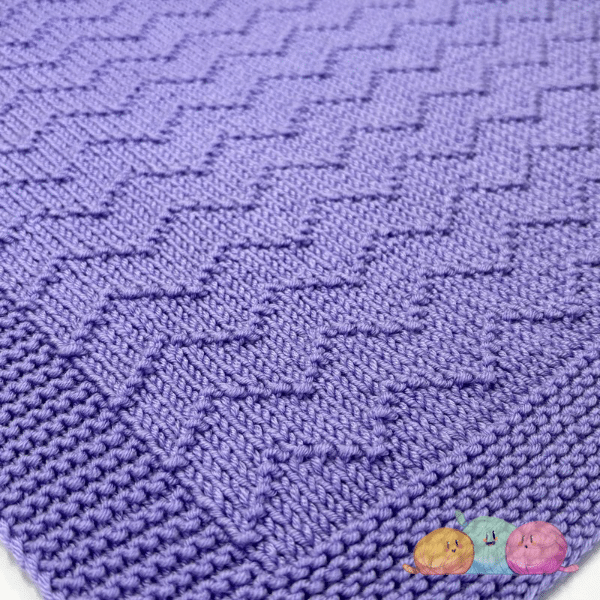
If you’ve been here a while you’ll remember one of my very early blanket tutorials was for this classic Chevron Blanket LP. With Emily, I wanted to revisit a chevron pattern, but in a totally different way to my previous project. I’m really happy with how the texture has turned out!
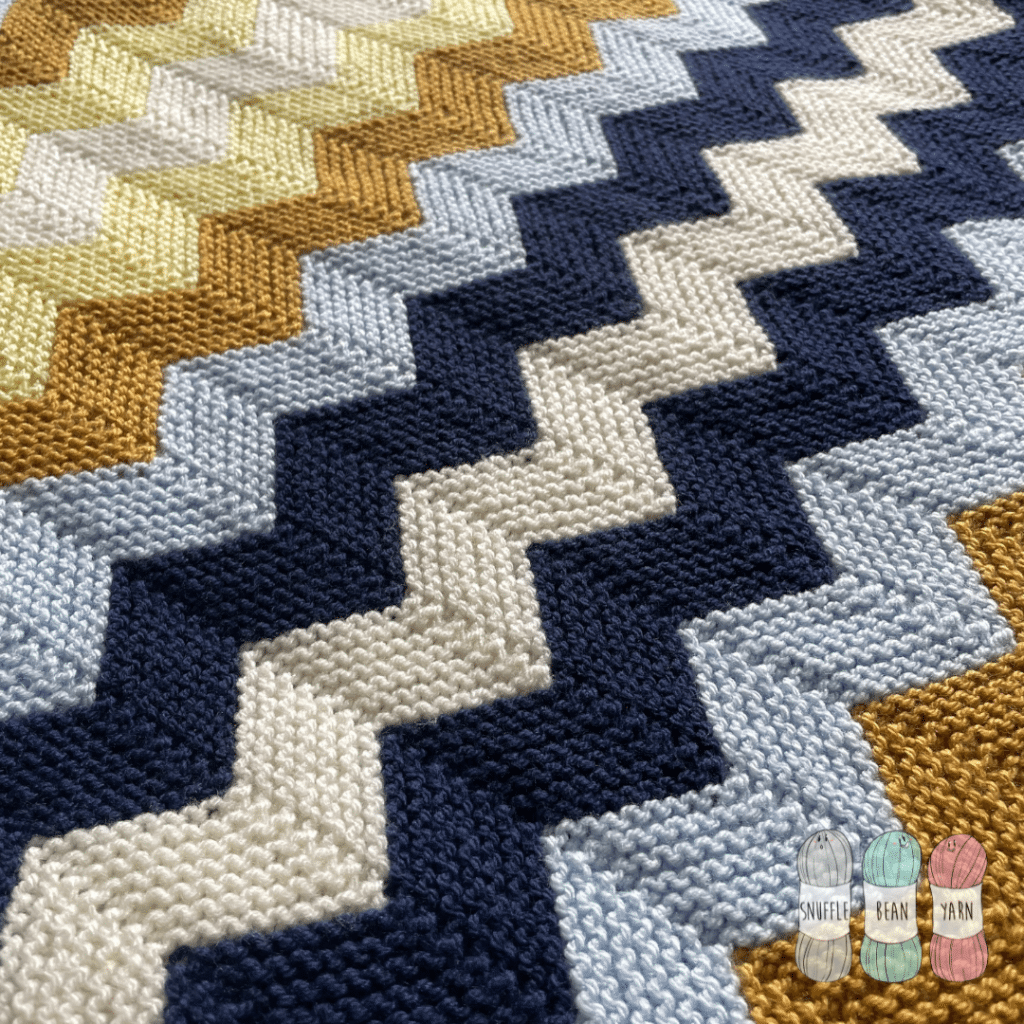
Emily is actually a modified version of chevron seed stitch. I wanted larger blocks of stockinette in between each chevron stripe to really let the design sing. There’s nothing better than a simple stockinette background to help any textured stich patterns stand out.
yarn and sizing tips & tricks
The Emily blanket pattern is knitted all in one piece, from bottom to top. In order to accommodate all your stitches, I recommend using a set of circular needles (at least 100cm long) as straight needles just won’t be long enough to fit your stitches on comfortably.
I’ve chosen DK (aka Double Knitting, Light Worsted, 3 Weight) yarn for this project, but don’t let that stop you from knitting it in your own preferred weight of yarn.
My instructions produce a baby blanket approximately 60cm x 80cm, perfect for using as a cot, pram or travel blanket. But don’t let that stop you from knitting this blanket in any size you want! I think it would look great scaled up as a Sofa Throw, Quilt or Bedspread!
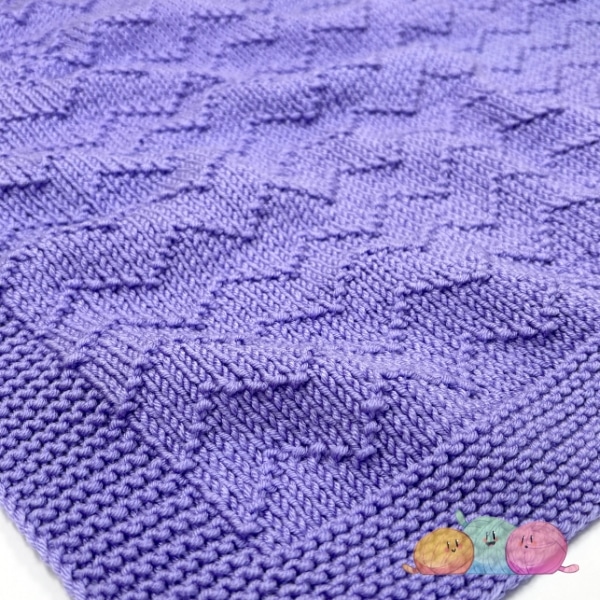
I’ve deliberately designed this knitting pattern to be super easy for you to adjust the size of your blanket to whatever size you want/need.
To make the blanket longer, you’ll need to work more repeats of the Middle Section (the top and bottom border are worked the same regardless of the size of blanket you knit).
To adjust the width of your blanket you’ll need to cast on more (or indeed less) stitches, it can easily be done using the pattern multiple of 8+1 for the middle textured panel, and an additional 18 stitches (9 for each side) for the garter stitch edging.
pin for later
Not ready to knit Emily just yet? Why not pin this image to your Pinterest so you can find it easily when you’re ready to sit down and cast on!
Materials Needed
- 4mm Circular Needs (to recreate this blanket 100cm is a perfect length)
- 400g of DK Yarn – I used King Cole Cherished in Larkspur
- Scissors & Tapestry Needle for sewing in ends
- 2 Stitch Markers
written pattern
Stitches Used
- k – knit
- p – purl
- sly1pwyf – slip one purlwise with yarn in front
- pm – place marker
- sm – slip marker
- RS – Right Side
- WS – Wrong Side
Bottom Garter Edge:
Foundation Row: Cast on 131 Stitches (I like to use the Long Tail Method)
Knit 16 rows as follows: k until final stitch, sl1pwyf.
Main Pattern Repeat:
Row 1 (WS): k9, pm, p until 9 stitches remain, pm, k8, sl1pwyf.
Row 2 (RS): k9, sm, k until second marker, sm, k8, sl1pwyf.
Row 3: k9, sm p until second marker, sm, k8, sl1pwyf.
Row 4: k9, sm, p1, *k7, p1* repeat from *to* until second marker, sm, k8, sl1pwyf.
Row 5: k9, sm, p1, *k1, p5, k1, p1* repeat from *to* until second marker, sm, k8, sl1pwyf
Row 6: k9, sm, k2, p1, *k3, p1* repeat until 2 stitches before second marker, k2, sm, k8, sl1pwyf.
Row 7: k9, sm, p3, k1, p1, k1, *p5, k1, p1, k1* repeat from *to* until 3 stitches before second marker, sm, k8, sl1pwyf.
Row 8: k9, sm, k4, p1, *k7, p1* until 4 stitches before second marker, k4, sm, k8, sl1pwyf.
Repeat Rows 1-8 a total of 28 times and then repeat Row 1-3 once more before moving onto the top garter border.
I hope you love Emily just as much as I do! If you’re looking for more knitted baby blanket inspiration then why not take a look at Toby, Emma or Harvey.
Top Garter Border:
Knit 16 rows as follows: K until final stitch, sl1pwyf. (Remove stitch markers when knitting first row).
Final row (Row 17) Cast off knit wise with right side facing.
Video Tutorial
Want to browse all of my knitted baby blanket patterns and more? See them HERE!
