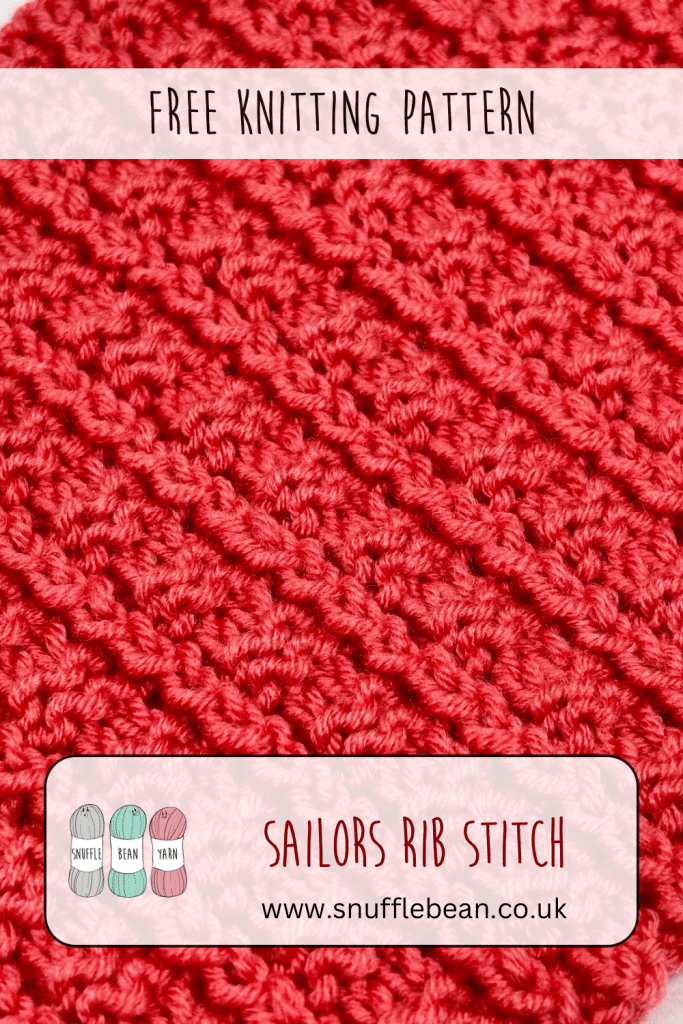
How to Knit Sailor’s Rib Stitch [Free Video Tutorial & Written Pattern!]
Don’t be fooled by the name. Sailors Rib Stitch is NOT just for Sailors!
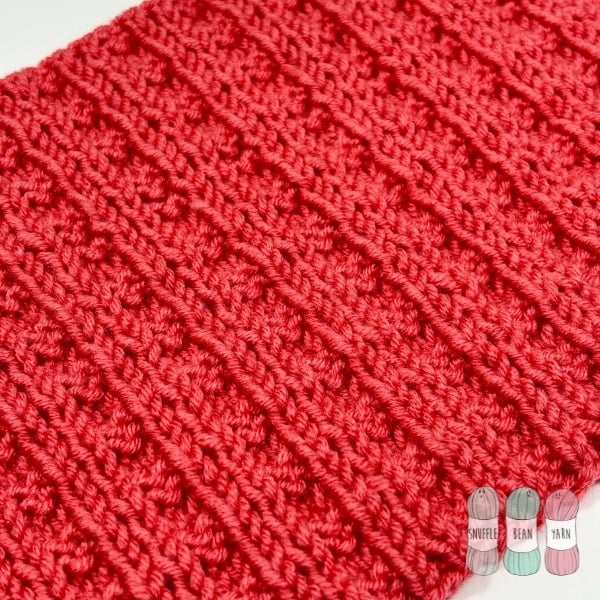
Sailor’s Rib Stitch is a relatively simple 4 row repeat, that has bags of texture on both the right and wrong side of the work. The short pattern repeat makes it perfect for an adventurous beginner to tackle – especially as it introduces knitting through the back loop as a technique.
Although this stitch lays nice and flat, if you’re not working it as part of a larger project I find it benefits from a couple of selvedge stitches at either end. I’ve left instructions on how I added a selvedge to my sample at the bottom of this pattern, but you could add whichever selvedge technique you like. Or you could even incorporate a larger border if you are using this pattern in part of a bigger project.

Sailors Rib stitch is not a reversible pattern, it does have a right and wrong side (see photo below). As you can see, the reverse is not messy in any way, and it actually does have a defined pattern in its own right. For that reason I treat this stitch as a reversible one, as both sides are equally as pretty as each other.
Pin for later
written pattern
stitches used:
- K – Knit
- P – Purl
- K1tbl – Knit 1 through the back loop.
Repeat rows:
Cast on: Cast on a multiple of 5+1. (I like to use the Long Tail Cast On)
Row 1 (RS): k1tbl, *p1, k2, p1, k1tbl* repeat from *to* until end of row.
Row 2: p1, *k1, p2, k1, p1* repeat from *to* until end of row.
Row 3: k1tbl, *p4, k1tbl* repeat from *to* until end of row.
Row 4: p1, *k4, p1* repeat from *to* until end of row.
Repeat rows 1-4 until project is the size you want it to be. Cast off in pattern on a Row 2.
tips for adding selvedge stitches
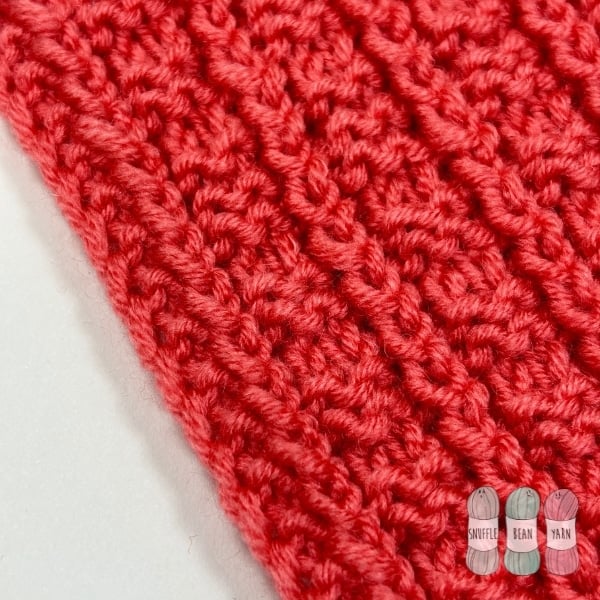
If you want to add selvedge stitches to help your work lay flat, then I suggest adding 2 stitches at either end. The selvedge is easy to work, the only change you will need to make to the four row repeat above is to knit the first 2 stitches of each row, and for the final two stitches of each row, you’ll want to knit 1 and then slip the final stitch purl wise with the yarn in front.
My sample below has a 2 stitch selvedge worked in garter stitch, so you can see the effect it gives.
![How to Knit the “Emily” Baby Blanket [Free Knitting Pattern & Video Tutorial!]](https://www.snufflebean.co.uk/wp-content/uploads/2024/12/emily-WordPress-1.jpg)
![How to Crochet a Corner to Corner Wattle Stitch Square [Free Video Tutorial & crochet Pattern!]](https://www.snufflebean.co.uk/wp-content/uploads/2021/11/Wattle-2-1.png)
![How to Knit the “Finley” Baby Blanket [Free Video Tutorial & Written Pattern!]](https://www.snufflebean.co.uk/wp-content/uploads/2024/07/Finley-WordPress-Social-Photo.jpg)

![How to Knit the “Arthur” Baby Blanket [Free Knitting pattern & Video Tutorial!]](https://www.snufflebean.co.uk/wp-content/uploads/2023/04/arthur-social.png)