How to Knit Garter Rib Stitch [Free Video Tutorial & Written Pattern!]
If you have followed me for a while, then Garter Rib Stitch will not be entirely unfamiliar to you. I’ve actually used a variation of this stitch pattern before in one of my favourite blankets – Stanley. It really shows that the simplest of stitch patterns can be scaled up to create really beautiful larger projects.

Not only is it easy (which makes it great for beginners!), It’s also a really versatile pattern. In these instructions I’ve used the classic 2 x 2 combination, but once you get to grips with it you could adjust it to work in lots of different widths – incorporating either wider stripes of stockinette, garter stitch, or both.
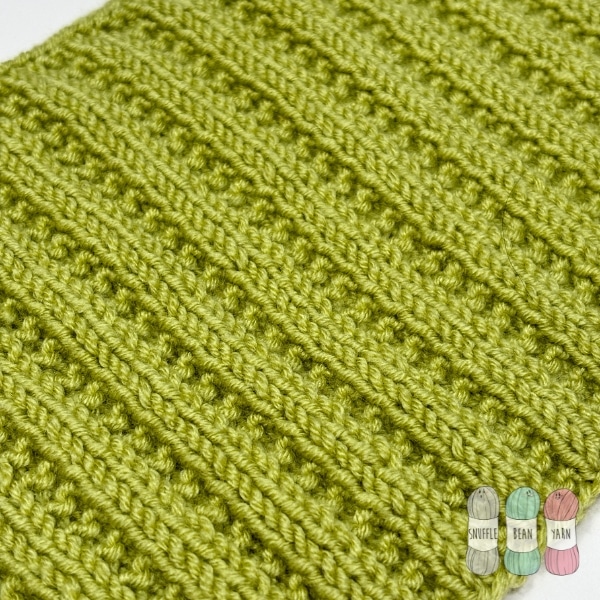
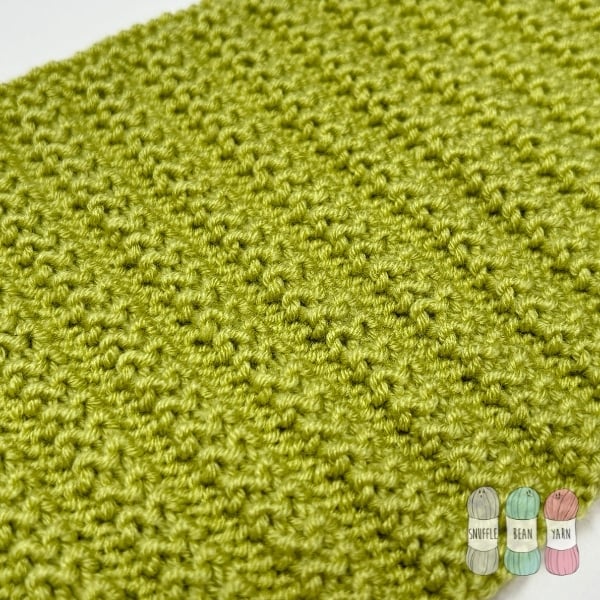
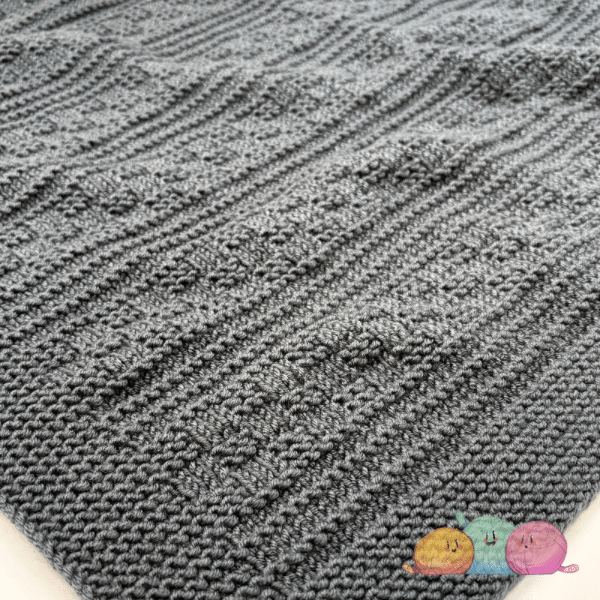
Garter Rib Stitch is not a reversible stitch, it does have a defined right and wrong side (see picture below). That being said, the reverse of the blanket does have a really lovely texture all of its own. So when working something like a blanket, your work will look just as good on the reverse side – just in a different way.
pin for later
written pattern
stitches used:
- K – Knit
- P – Purl
- RS – Right Side
- WS – Wrong Side
Repeat rows:
Cast on: Cast on a multiple of 4+2. (I like to use the Long Tail Cast On)
Row 1 (WS): k2, *p2, k2* repeat from *to* until end of row.
Row 2 (RS): k all stitches.
Repeat rows 1 & 2 until project is the size you want it to be. Cast off knit-wise on a Row 2 repeat.
Tips for adding selvedge stitches
A lot of the versions of this pattern I see has the stockinette rib on the outer edges of the design. Personally, I don’t like this if I’m not incorporating a border, as the design then has a tendency to curl at the edges.
Rather than give you instructions on how to add selvedge stitches, I’ve tweaked the pattern so the garter section of the ribbing is at the outer edges of the design. Effectively what this does is give you a 2 stitch selvedge automatically.
If you prefer to have the stockinette section on the outer edges, then instead of working my Row 1 above, you would work the following: p2, *k2, p2* repeat from *to* until the end of the row.

My sample above has the 2 stitch selvedge, so you can see the effect it gives.
![How to Knit the “Lucas” Baby Blanket [Free Video Tutorial & Written Pattern!]](https://www.snufflebean.co.uk/wp-content/uploads/2024/10/Lucas-WordPress.jpg)
![How to Knit the “Rosie” Baby Blanket [Free Video Tutorial & Written Pattern!]](https://www.snufflebean.co.uk/wp-content/uploads/2023/04/Rosie-5.png)
![How to Knit the “Finley” Baby Blanket [Free Video Tutorial & Written Pattern!]](https://www.snufflebean.co.uk/wp-content/uploads/2024/07/Finley-WordPress-Social-Photo.jpg)
![How to Knit Flag Stitch [Free Video Tutorial & Written Pattern!]](https://www.snufflebean.co.uk/wp-content/uploads/2023/06/flag-stitch-social.png)
![How to Knit a Mitred Square [Free Knitting Pattern & Video Tutorial]](https://www.snufflebean.co.uk/wp-content/uploads/2022/02/mitre-3.png)
This is very attractive. How does garter rib stitch compare in size to other stitches? Could you, for example use it on a garment instead of stocking stitch or alternatively plain garter stitch?
I noticed that the left leg of your knit stitches are more vertical instead of v’d to the left. It creates a lovely column effect. I’ve played around with different knit techniques but have not been able to recreate that look. Do you pull through your knit stitch in a certain way to create this effect?
Nope, I can only assume its the twist of the yarn creating this effect 🙂
Hi, thanks for this tutorial. When you write “If you prefer to have the stockinette section on the outer edges, then instead of working my Row 2 above, you would work the following: p2, *k2, p2* repeat from *to* until the end of the row.”
Should this say “row 1” instead of “row 2”?
You’re absolutely correct! I’ve fixed the mistake now, thank you so much for pointing it out 🙂