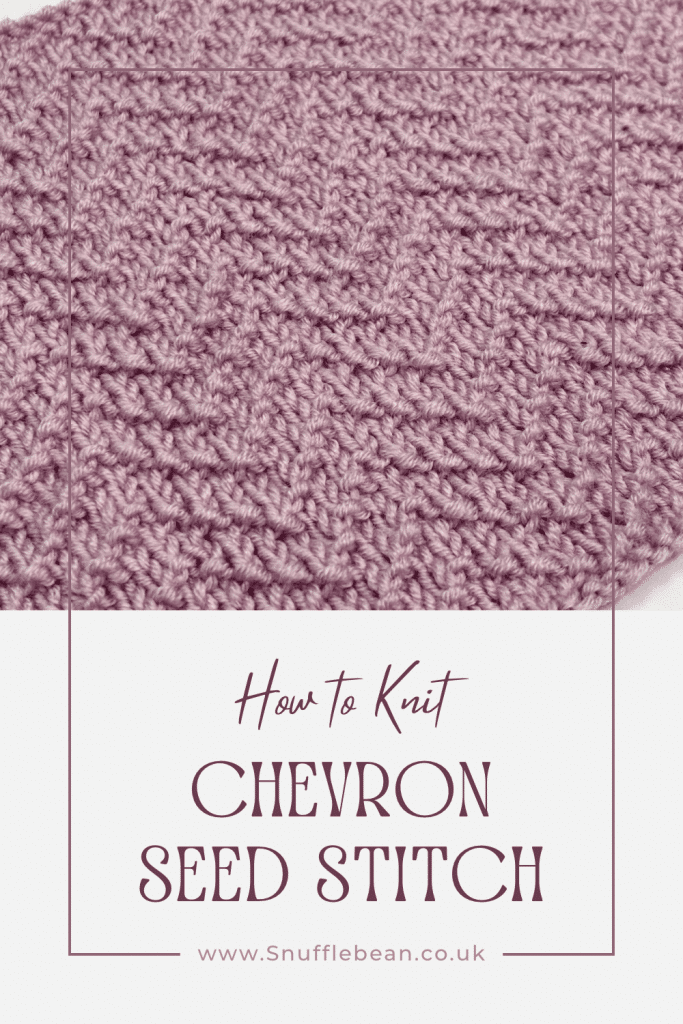
How to Knit Chevron Seed Stitch [Free Video Tutorial & Written Pattern!]
Just like Diagonal Seed Stitch, Chevron Seed Stitch uses purl bumps (or “seeds”) to create texture on a stockinette background.
The texture created by this stitch pattern is not only fun, but its nice and modern too. Perfect for something like a baby blanket or why not even incorporate it into a beanie or cardigan.
Chevron Seed Stitch is not a reversible pattern, it does have a very definite right and wrong side. This is something you’ll need to take into account when planning a project, especially if you want to use a stitch pattern that looks the same on both sides (if this is the case, then why not give Chevron Rib Stitch a go!)
At just a four row repeat, this stitch pattern is nice and short, making it an easy one to memorise and also to scale up into a larger project as you won’t have a very long pattern repeat to work through.
Why not sandwich it in-between some garter stitch and create a baby blanket?
pin for later
written pattern
stitches used
- k – knit
- p – purl
pattern repeat
Foundation Row: Cast on a Multiple of 8 stitches.
Row 1 (Right Side): *p1, k3* repeat from *to* until the end of the row.
Row 2: *k1, p5, k1, p1* repeat from *to* until end of the row.
Row 3: k2, p1, *k3, p1*repeat from *to* until 1 stitch before end of the row, k1.
Row 4: *p2, k1, p1, k1, p3* repeat from *to* until end of the row.
Repeat Rows 1-4 until your project is the size you want. Then, before casting off, work Row 1 once more, and then cast off knitwise on the next row (the wrong side of your work should be facing you when you cast off)
![How to Knit Seed Stitch [Free Video Tutorial & Written Pattern!]](https://www.snufflebean.co.uk/wp-content/uploads/2022/06/seed-stitch-blogger.png)
![How to Knit the “Noah” Baby Blanket [Free Knitting Pattern & Video Tutorial!]](https://www.snufflebean.co.uk/wp-content/uploads/2025/01/Noah-Etsy-1-1.png)
![How to Knit the “Gracie” Baby Blanket [Free Video Tutorial & Written Pattern!]](https://www.snufflebean.co.uk/wp-content/uploads/2024/09/long-tail-wordpress-1-1.png)
![How to Knit the “Sadie” Baby Blanket [Free Knitting Pattern & Video Tutorial]](https://www.snufflebean.co.uk/wp-content/uploads/2025/04/emma-3-4-1-1.png)
![How to Knit the “Holly” Baby Blanket [Free Video Tutorial & Written Pattern!]](https://www.snufflebean.co.uk/wp-content/uploads/2024/01/Holly-Social.png)
![How to Knit the “Louis” Baby Blanket [Free Video Tutorial & Written Pattern!]](https://www.snufflebean.co.uk/wp-content/uploads/2024/08/Louis-1-WordPress.jpg)