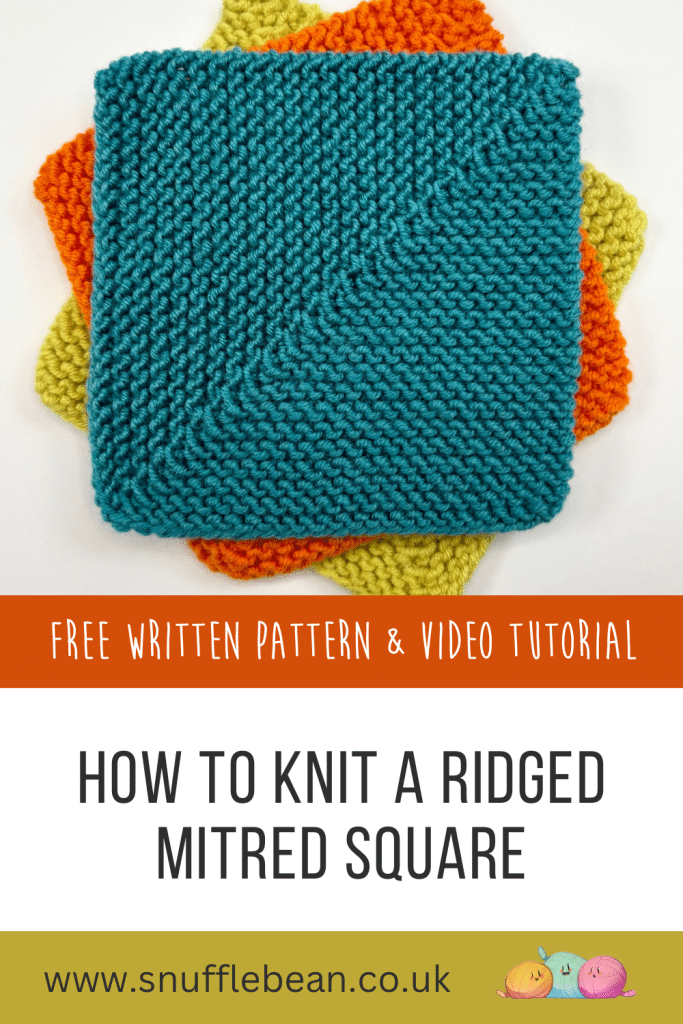
How to Knit a Ridged Mitred Square [free knitting pattern and video tutorial]
***You can purchase an INEXPENSIVE AD-FREE PDF of this pattern on Ravelry HERE or Etsy HERE***
Knitting Mitred Squares are one of my favourite ways to stash bust. Not only are they super quick to knit up, but as you can join them as you go, it makes a stash busting project easy to pick up and put down.

There are two main types of Mitred Square knitting patterns, I’ve covered the other type in a previous post. The main difference being this version of the square uses a Centre Double Decrease, and needs an odd number of stitches cast on.
The type of decrease this square uses produces a nice defined ridge up the right side of your work, whereas the ridge (or mitre) in the other pattern is much less defined.
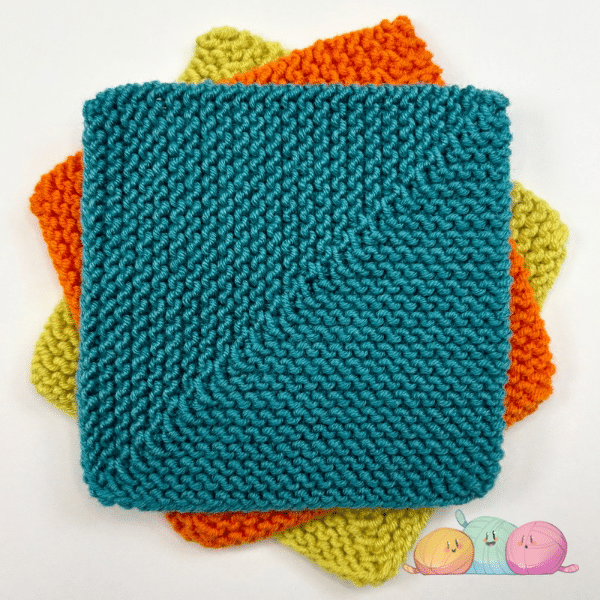
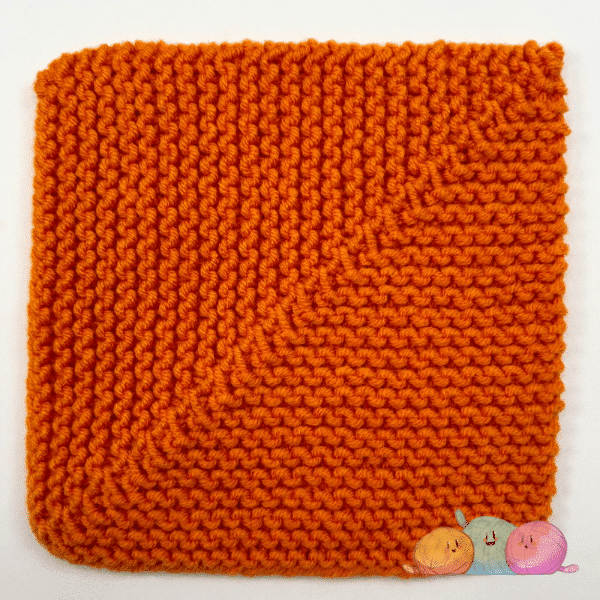
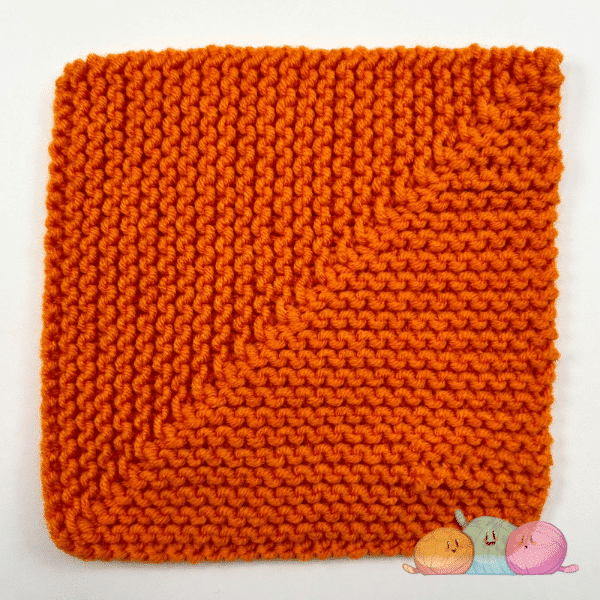
This mitred square pattern does have a slightly different right and wrong side, as I know this is an important factor for a lot of knitters, I’ve included photos of both the right and wrong side below.
right side
wrong side
To make things easier, I’ve included a free video tutorial at the bottom of this post to guide you through the pattern step by step.
Video tutorials are perfect if you’re a visual learner, or just like having a bit of extra guidance alongside the written instructions.
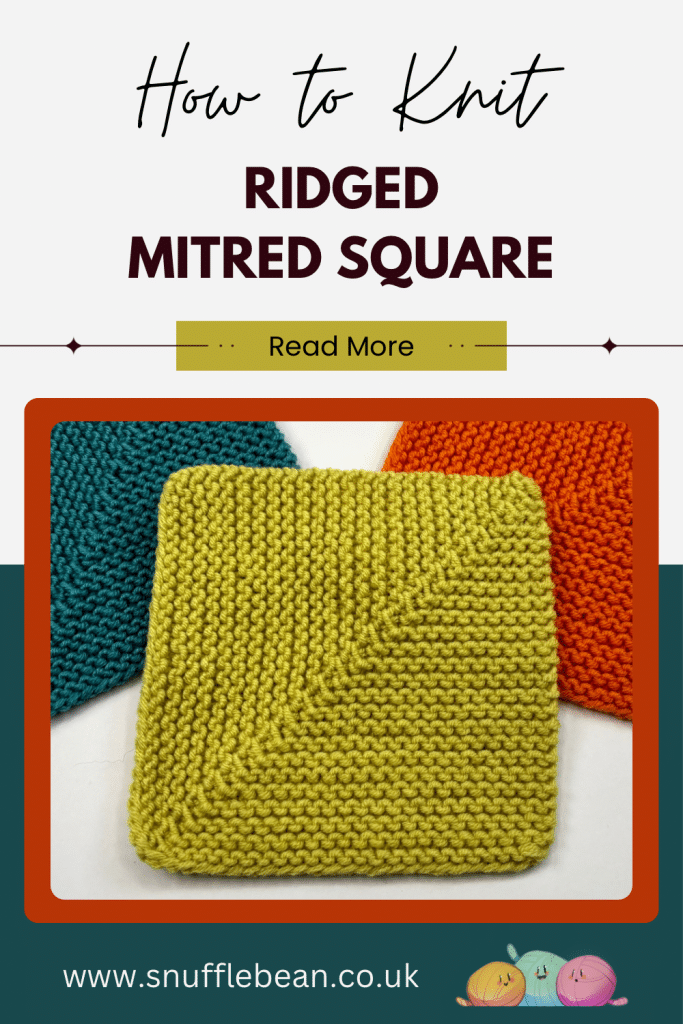
pin for later
Easily find this blog post in the future by pinning the image below!
Working out your midpoint
In this square we work our double decease across the centre 3 stitches.
Because this technique means the decrease point moves ever so slightly with each row, if you mark the mid point with a stitch marker you will need to move it with each right side row you work.
If you don’t want to put a marker on the middle stitch each row, then you can follow a simple formula to work out how many stitches you need to knit to get you to your middle 3 stitches.
Deduct 3 from your cast on amount, and then divide this number by two.
For example, my sample square is 51 stitches, deducting 3 leaves me with 48 stitches. By dividing 48 by 2, I know that knitting 24 stitches takes me to my middle 3 stitches.
Written Pattern
stitches & Abbreviations
- k – knit
- k2tog – knit two together
- sl1pwyb – slip one stitch purl wise with the yarn at the back
- PSSO – Pass the slipped stitch over the next stitch (in the case of this pattern, over the k2tog).
- RS – Right Side
- WS – Wrong Side
Pattern Repeat
Foundation Row: Cast on ODD number of stitches.
Row 1 (WS): k all stitches. TURN.
Row 2 (RS): k until middle 3 stitches (see note above about working out the midpoint), sl1pwyb, k2tog, PSSO, k to end of row. TURN.
Repeat Rows 1 & 2 until you have 5 stitches remaining, knit 1 final Row 1 of 5 stitches, then work the following final two rows.
Finishing Row 1 (RS): k1, sl1pwyb, k2tog, PSSO, k1. TURN
Finishing Row 2 (WS): k3. DO NOT TURN.
Final Step: Break yarn and leave a long tail, thread tail onto a tapestry needle and feed the needle through the 3 remaining stitches from right through to left.
Remove your knitting needle and pull on the yarn tail to cinch closed. Sew in tail.
Video tutorial
If you love this pattern, then why not take a look at my Striped Mitred Square! You can use the techniques in that pattern, alongside the alternative decrease in this square and achieve the same effect.
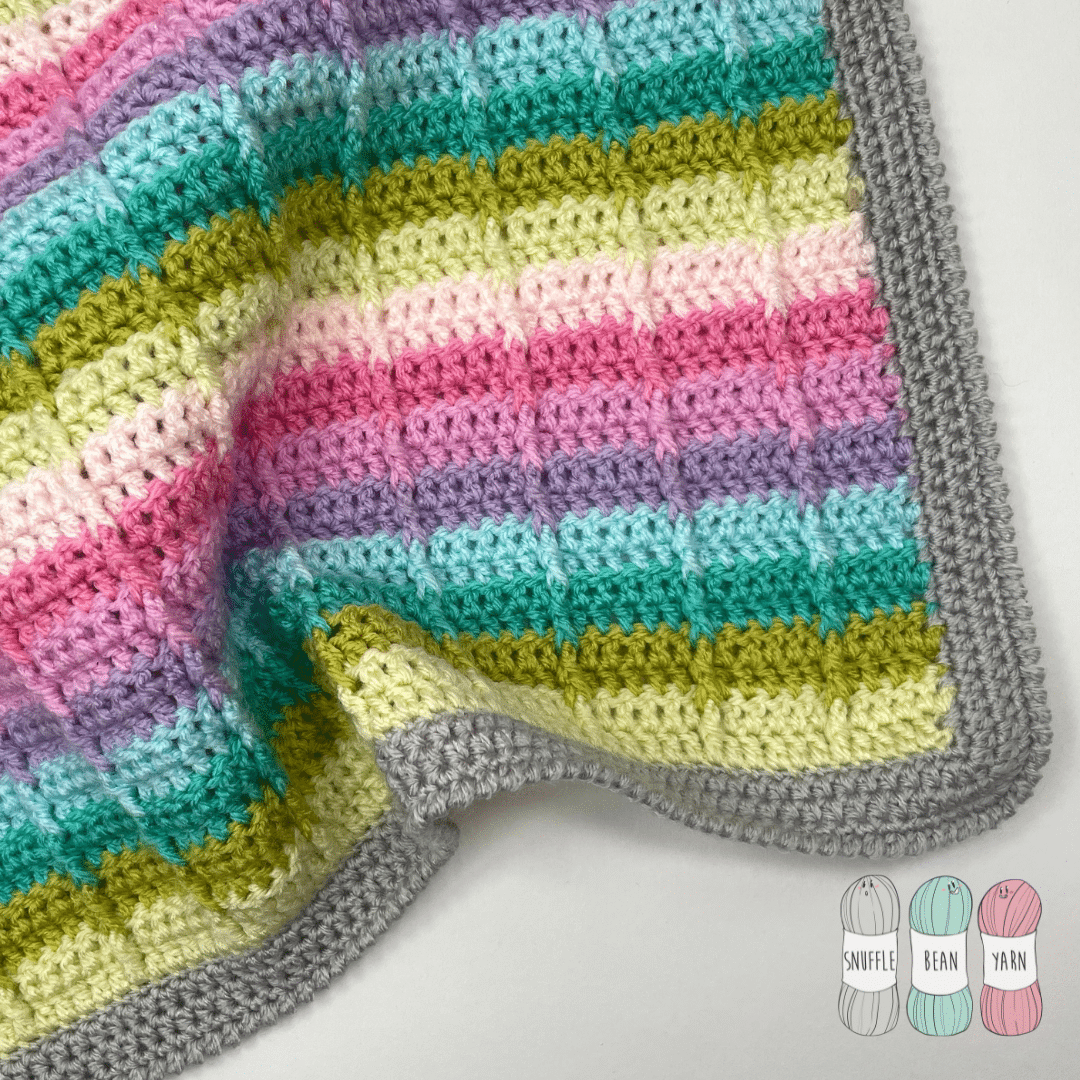
![How to Knit the “Robin” Baby Blanket [Free Video Tutorial & Written Pattern!]](https://www.snufflebean.co.uk/wp-content/uploads/2024/03/Robin-Social-2.jpg)
![How to Crochet Blanket Stitch [Free Video Tutorial & Written Pattern!]](https://www.snufflebean.co.uk/wp-content/uploads/2022/06/blanket-stitch-blogger.png)
![How to Knit the Broken Rib Stitch [Free Written Pattern & Video Tutorial!]](https://www.snufflebean.co.uk/wp-content/uploads/2023/03/broken-rib-social.png)